Cleaning old pavers can take time, effort, and money, so it’s important to use tested methods for the best results. Join us on a rundown of everything you need to know about maintenance for your stone pavers.
Before starting, make sure you wear the correct gear to protect your lungs, eyes, skin, and clothing. Overalls, gloves, a mask, and goggles are essentials when cleaning your pavers.
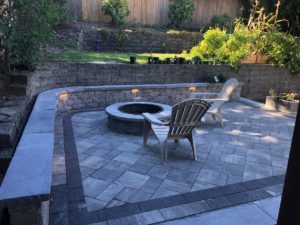
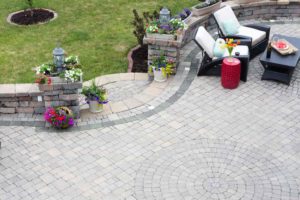
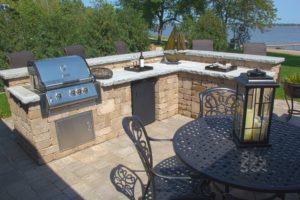
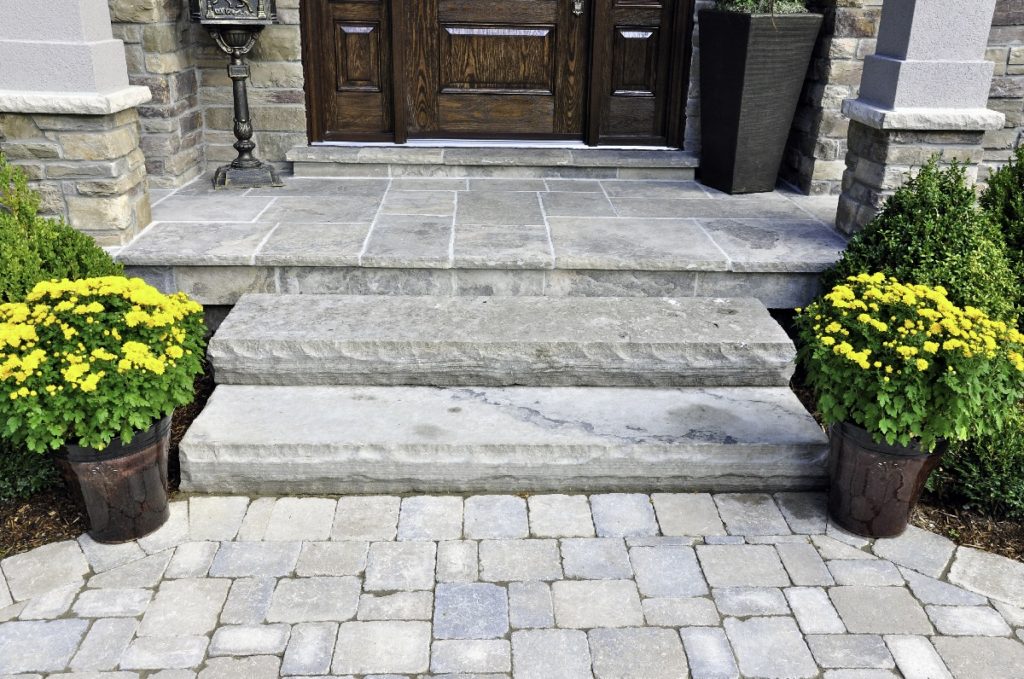
Our Top Tips for Maintaining Your Patio and Walkway Pavers
1. Sweep
Get rid of the built-up dirt with a stiff-bristled broom to break up the dust and hard mud caked onto the pavers. If it looks like it’s going to rain, give your patio pavers a sweep so that the water doesn’t make the dirt clump. You can use baking soda and vinegar to remove any dead leaf stains.
You may also be dealing with an issue known as efflorescence or salt buildup. It appears as white ‘runny’ marks on the surface of masonry, including stone pavers. A firm brush can remove it. There will be dust, so wear your mask to prevent inhalation.
2. Rinse with water
You can use water from your garden hose or rent a pressure washer. This will help you get between the pavers and wash away any dirt lurking in the dark. A pressure clean does yield the best results.
If your pavers have a base layer installed, there should be no issue with the water drainage. Otherwise, you need to ensure you wash on a hot, sunny day so that all the water will evaporate. It’s also imperative to ensure you hire a professional when you first lay the paving.
3. Remove all the weeds
At this step in the process, you must remove weeds and moss. For weeds, it’s best to pull them out by hand or use a brush and mild detergent. The detergent will help to get rid of any bits of debris the water didn’t reach.
The best way to get rid of moss is to keep the area completely dry. Moss cannot thrive in a sunny, dry place. If your pavers don’t get a lot of direct sunlight, then boiling water, vinegar, and elbow grease is the way to go.
4. Get scrubbing
It’s essential to use a firm scrubbing brush to remove any dirt that may have survived. When you seal your paved walkways, you don’t want to lock in any mud or bits of moss. Use detergent explicitly made for your type of paver.
Beware of using herbicides. They may cause long-term damage to the environment and your garden. It’s vital to use them sparingly, if at all. Always consider using biodegradable products.
5. Replace
You can replace individual broken or chipped pavers. This is also an excellent time to check if you did the job correctly by color matching the new and old pavers.
It is also a good idea to replace the sand between the pavers. You can use polymeric sand to prevent moss and weed regrowth.
6. Grout
It’s important to replace the grout between pavers to prevent gradual shifting over time. Especially in high-activity areas, unrelenting weather conditions will wear the grout away.
If you plan on attempting this DIY style, it’s essential to make sure you have the right tools. Rotary tools and specific grout removal devices are necessary to get the job done right.
Afterwards, you should leave any new pavers to cure. Before sealing, concrete pavers will need at least thirty days to shed all moisture.
7. Seal
Once a year or once every two years, you should seal your pavers with a product like Grip Seal or Stone Seal. These sealants protect your pavers and make them easier to clean. A quick sweep, a spray with some water, and you’re done!
All sealer brands do mostly the same thing, but some are glossy and some are matte. Which one you choose is entirely up to personal preference. Matte sealers usually last longer than glossy ones. But a regular paving maintenance schedule will ensure good upkeep.
Sealing your pavers prevents water from getting between the cracks. You don’t want a waterlogged driveway. The sealant forms a powerful barrier that also keeps out dirt and weeds. Ensure that your pavers are 100% dry. Then you can use a long-handled paint roller to paint the sealant onto the pavers.
Conclusions
It may be a big job, but you can get it done quickly with the proper guidance and tools. Once everything is clean and sealed, continue a regular maintenance schedule.
Sweep your pavers twice a week. Rinse them once a week. Weed once a month. Scrub once every two months. Replace broken pavers as soon as possible. Re-grout every two years and finally, seal them each year or every two years for a great first impression.
Cleaning pavers should no longer cause you headaches.