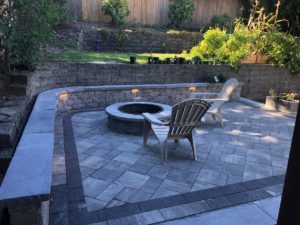
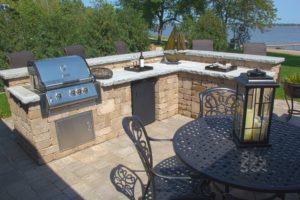
For anyone thinking about upgrading their outdoor living space, a paver patio is an absolute must. These versatile patios add depth to your home, as well as style and creative design. It pushes the property value exponentially, increases the area for entertaining and adds character to your home.
If you are wondering how difficult it is to install a paver patio yourself, we have the steps right here for you.
7 Steps to Install your New Paver Patio
Prepare the ground
The most important thing you can do is to prepare the ground for your patio paver. Getting the ground level is essential. This forms the foundation of your hard work, and, if not done properly, can be the destruction of it.
First things first, measure the space where you want to lay out your paver stones. Mark off this space with stakes and twine. Ensure that these are parallel and level as they will be the guidelines for the rest of your steps. It will likely be necessary to remove some material from the area to make it level, while also eliminating any unwanted vegetation from the area.
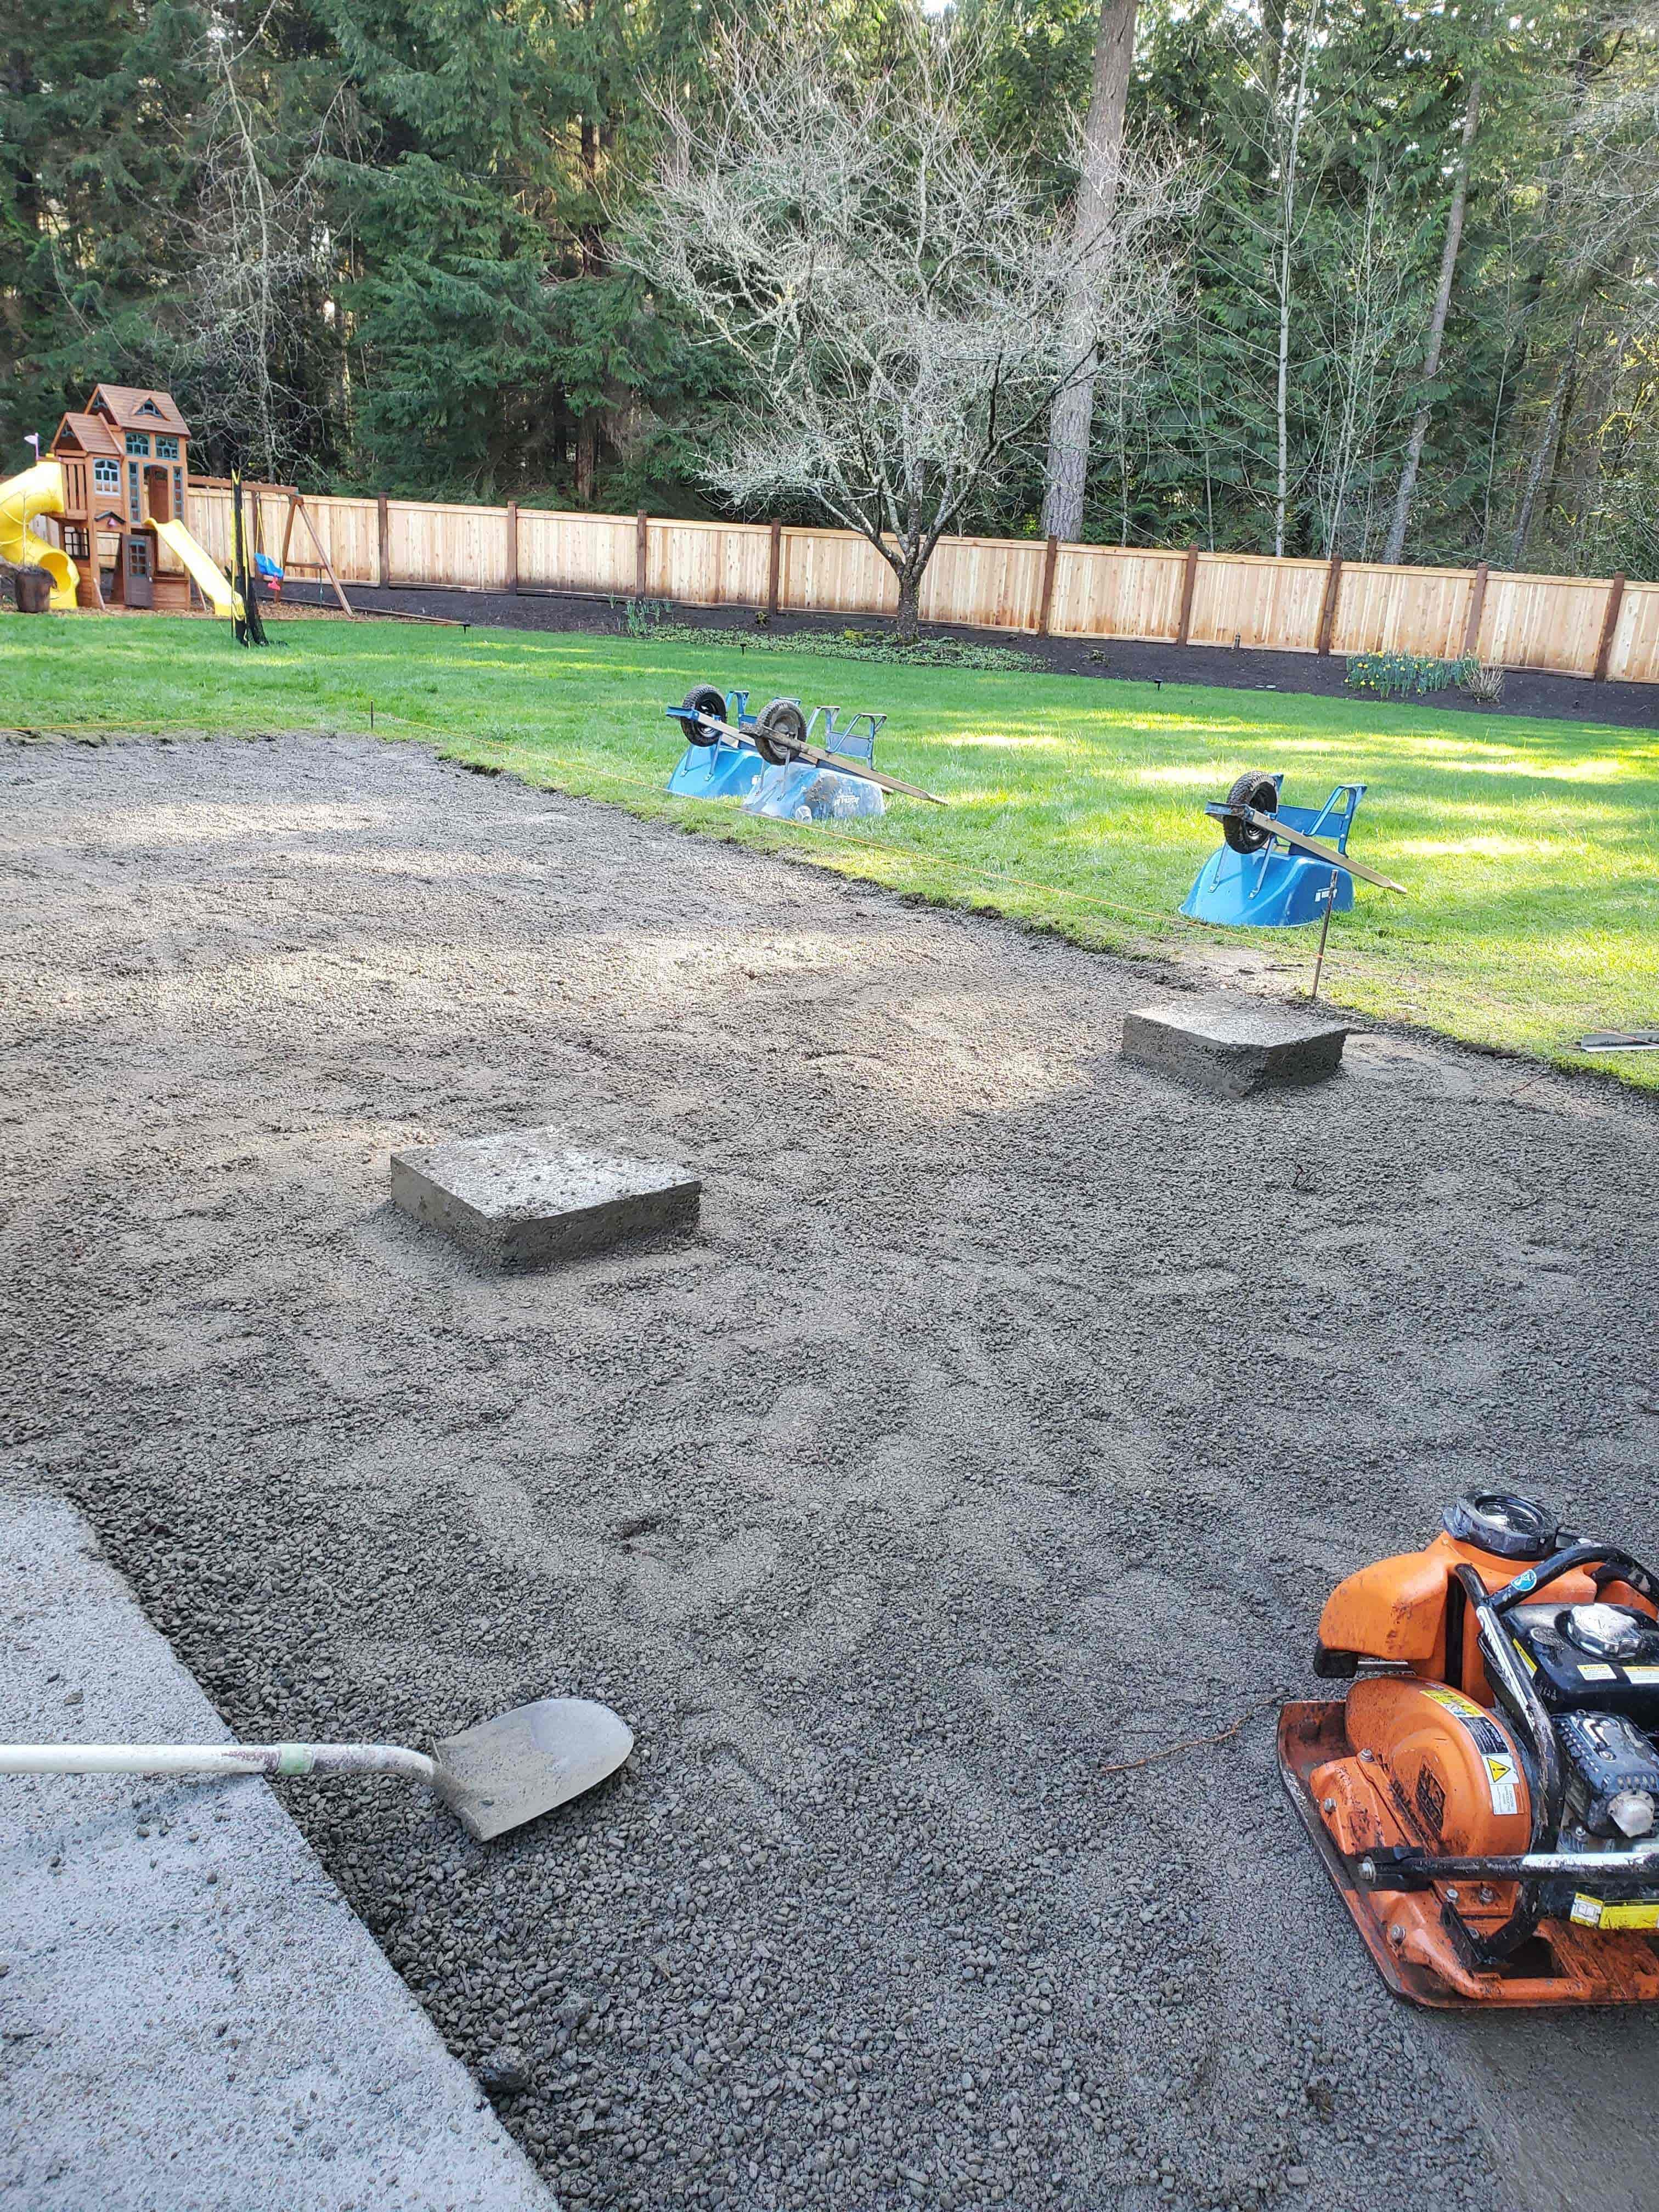
Lay the base material
When you are sure that the ground is level and ready for use, it’s time to lay the base materials. Depending on the ground in the area, you may want to first put down landscaping material.

Your base materials consist of crushed rock or lime-rock gravel. The idea behind this is to make the ground as firm and compact as possible. This secures your paver patio and increases its longevity.
If you find that crushed rock or lime-rock gravel doesn’t work, you can use gravel with some moisture in it.
Spread your base layer evenly, and then use a plate compactor to make sure it is firm. If you are struggling with this step, you can always call a patio paver contractor like Seattle Outdoor Spaces. It is vital to do this properly, as this forms the base of your patio paver.
Edge restraints
Edge restraints prevent your pavers from shifting and moving. Your patio paver could shift if it is not blocked off properly. This may be due to traffic or weather conditions. You can almost see them as the pillars keeping your structure together.
Edge restraints are typically made from plastic. However, precast concrete, wood, or metal work just as well, if not better.
Spread sand
Before laying out your pavers, you first have to spread the sand. This means adding a layer of bedding sand over your base material. Your bedding sand evens out the compact gravel and protects your paver joints.
A Seattle paver contractor, like Seattle Outdoor Spaces, can help advise you on the best bedding sand for your paver patio. This is all dependent on your base materials and paver stones.
After you have spread the sand, make sure it is level before laying down your pavers.
Lay your pavers
The time has finally come for you to lay your pavers. During this step, you get to see your patio come together.
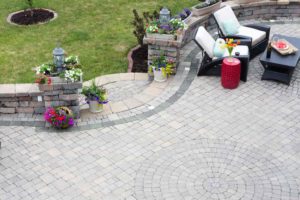
When laying down your pavers, make sure the design supports the aesthetic of your outdoor living space. Additionally, make sure you choose the right paver stone. This will help you enhance your outdoor living space.
The best way of putting your paver patio together is by laying your paver stones close together. Some pavers may even have space bumps to help placement.
Once all your paver stones have been laid out, use a mechanical plate compactor. This will solidify the paver patio’s placement in the bedding sand.
Compact and fill joints
The hardest work is done, and you are just short of grabbing a soda and enjoying your hard work! These final steps are about ensuring the longevity of your paver patio and rounding off the edges.
When speaking to a Seattle paver contractor, you may hear them mention compacting and filling the joints.
This process involves simply sweeping sand over your patio paver. While this may not seem important, it is vital to maintaining the health of your patio paver. The fine sand fills in the joint gaps and strengthens your patio.
Seal
Finally, sweep your patio clean of any debris and tidy it up. You can then seal the area with sand binding sealant.
By sealing your patio pavers, you are able to maintain the quality of your patio. It stops marks and stains from ruining your patio and prevents the growth of vegetation in between the paver stones. Moreover, it secures the sand between the paver joints.
Final Thoughts
A paver patio adds depth to your outdoor design and upscales your entire house. Moreover, it isn’t difficult to build, through careful guidance you can finish it in an afternoon. All you need is some time, sand and gravel, and perhaps a broom.
To find out more about how to Install a paver patio, be sure to contact Seattle Outdoor Spaces. Contact us today and we can help build your dream patio together.